
Did you know if you are a Magic Key Holder (annual pass holder) or you purchase a photo pass for the day you can have your picture taken professionally at any of the areas that have photographers stationed at Disney?! You could also hand them your phone and ask them to snap a picture with it.. most of them oblige. But… why do that when they can take it on their camera and super impose images into your photograph? After they take the photograph on their camera they scan your pass link and your photos appear on your Disney app within minutes. Sometimes with little surprises in it! One hundred percent worth it. On this day we stopped to take a picture at the front of Disneyland, they super imposed a Mickey pumpkin in our hands and it could not have made me more happy.
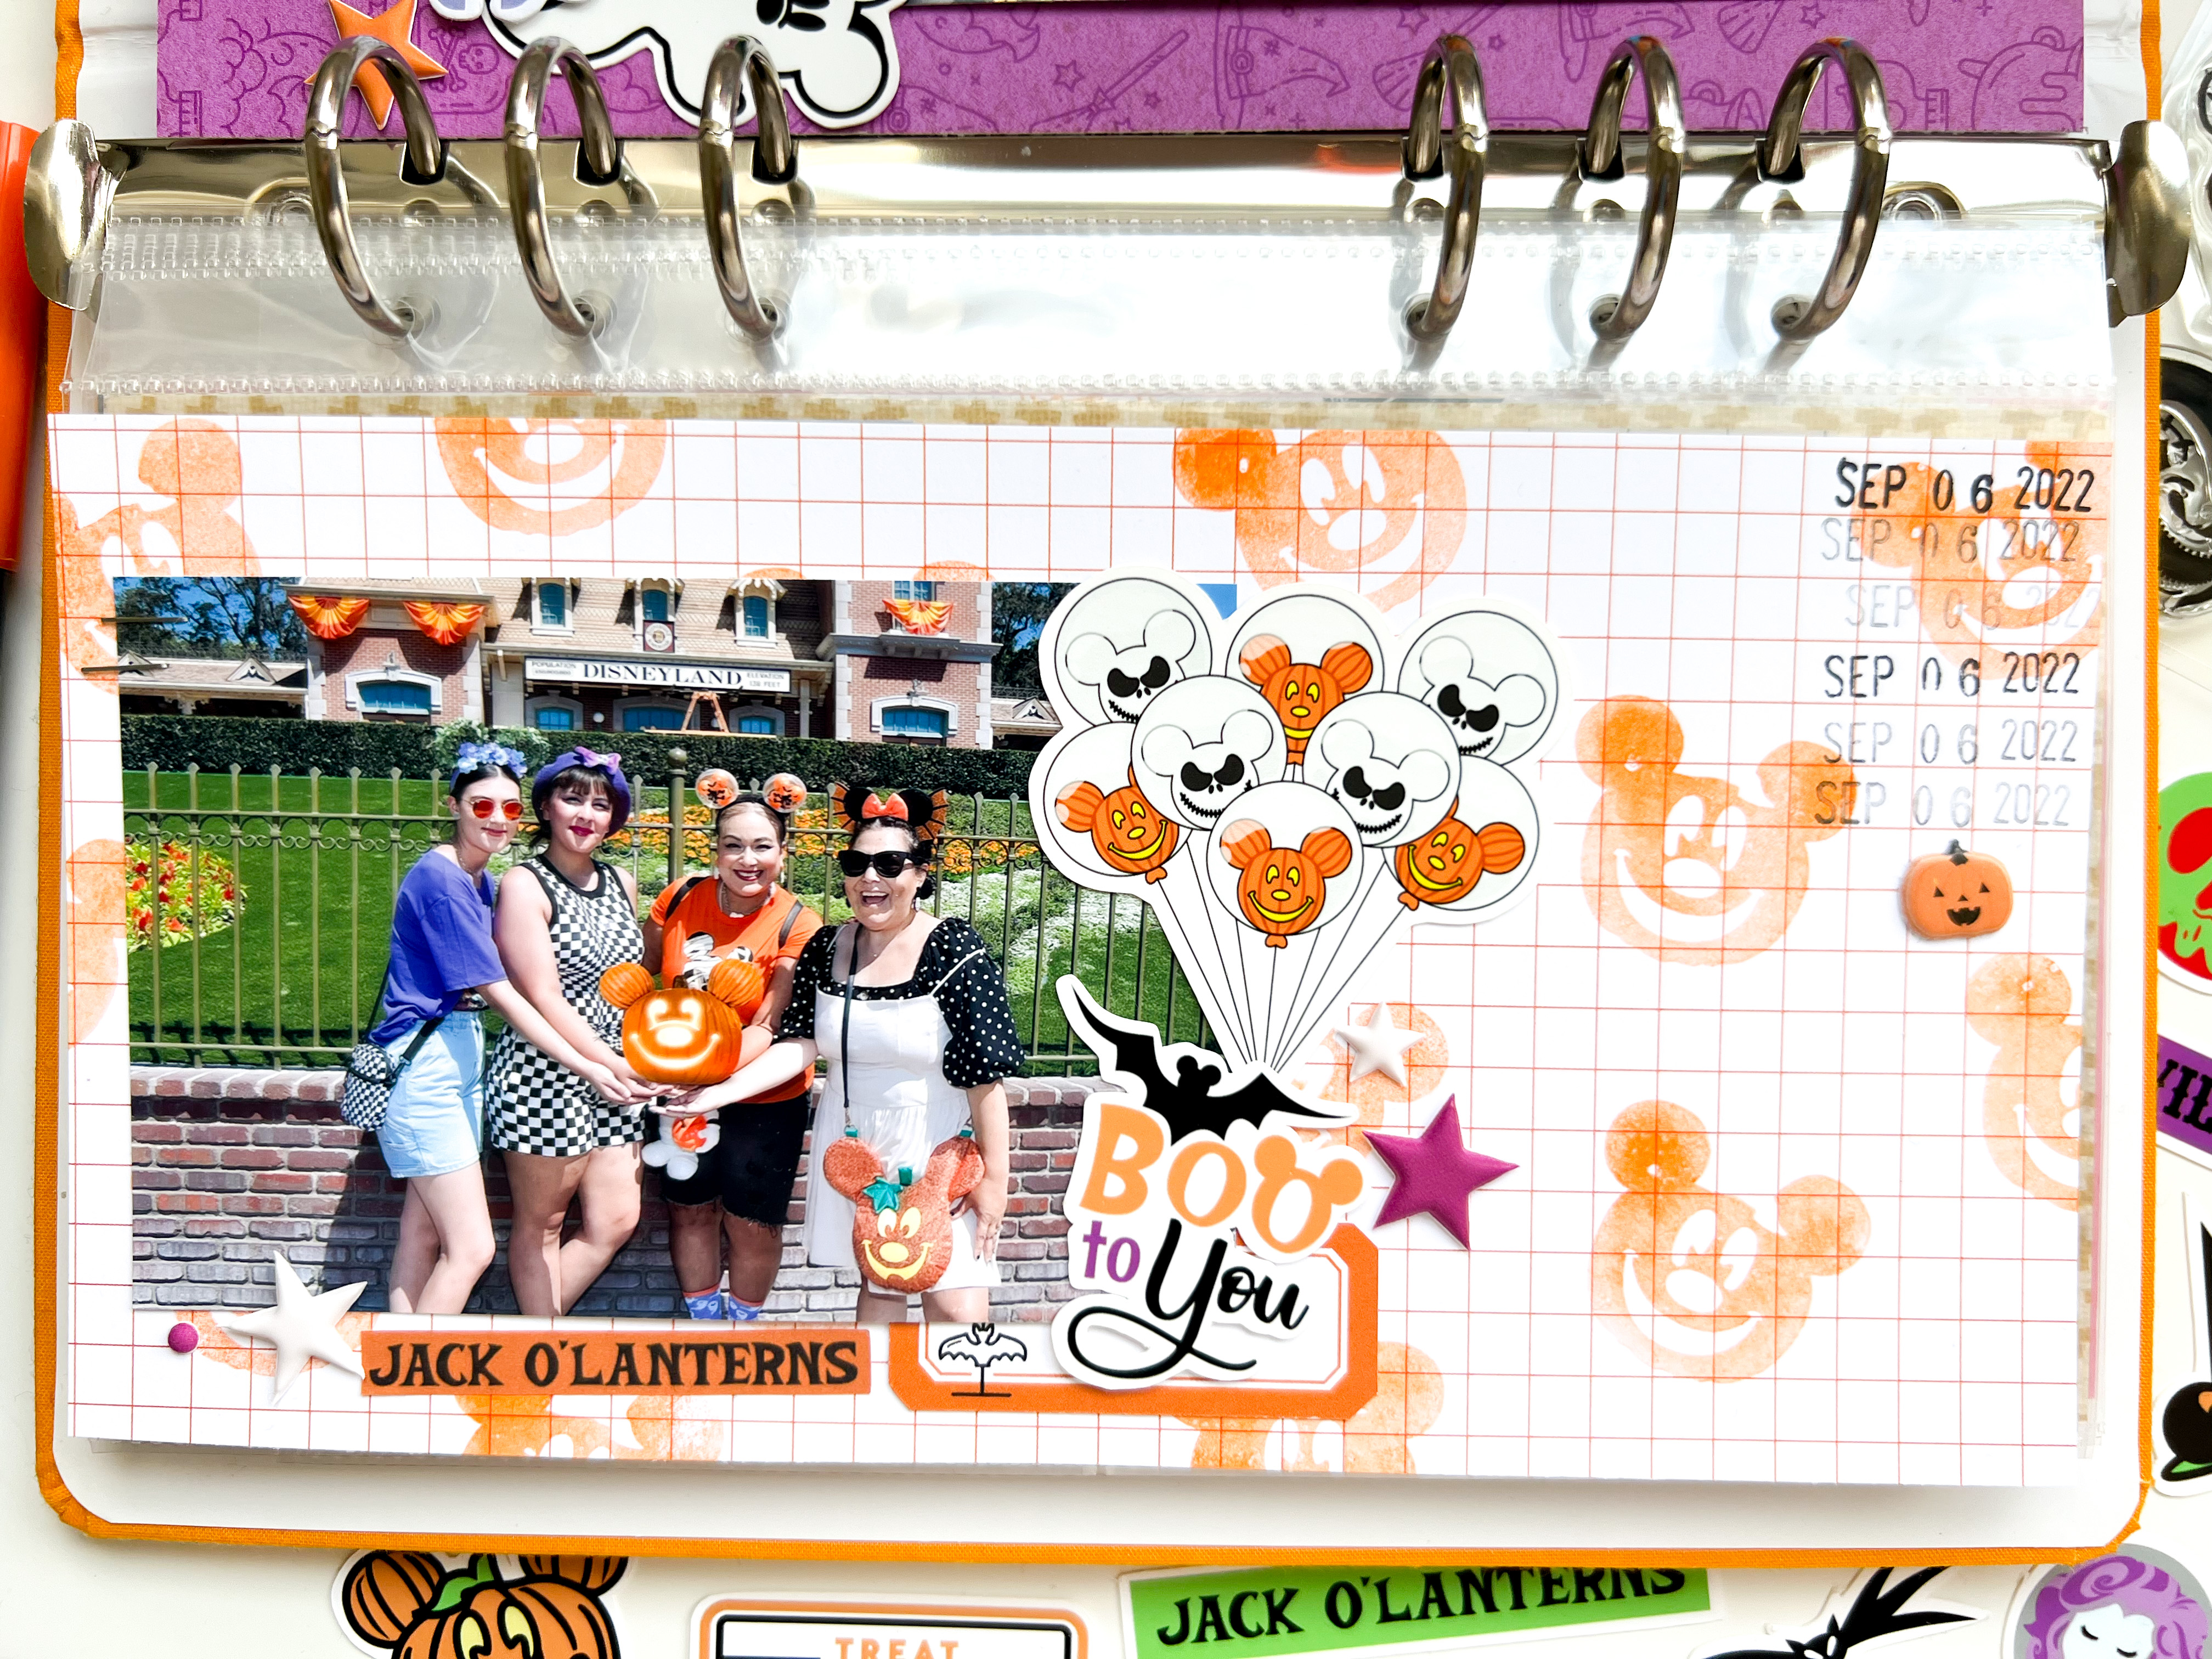
Now to complete this album page. For our base we took a grid paper and stamped the pumpkin images on it. Using the technique “2nd generation stamping” I stamped the images on a scratch piece of paper first before stamping on the grid paper to have softer look. By rotating your stamp image in different directions and going slightly off the paper, it makes for an amazing background pattern.
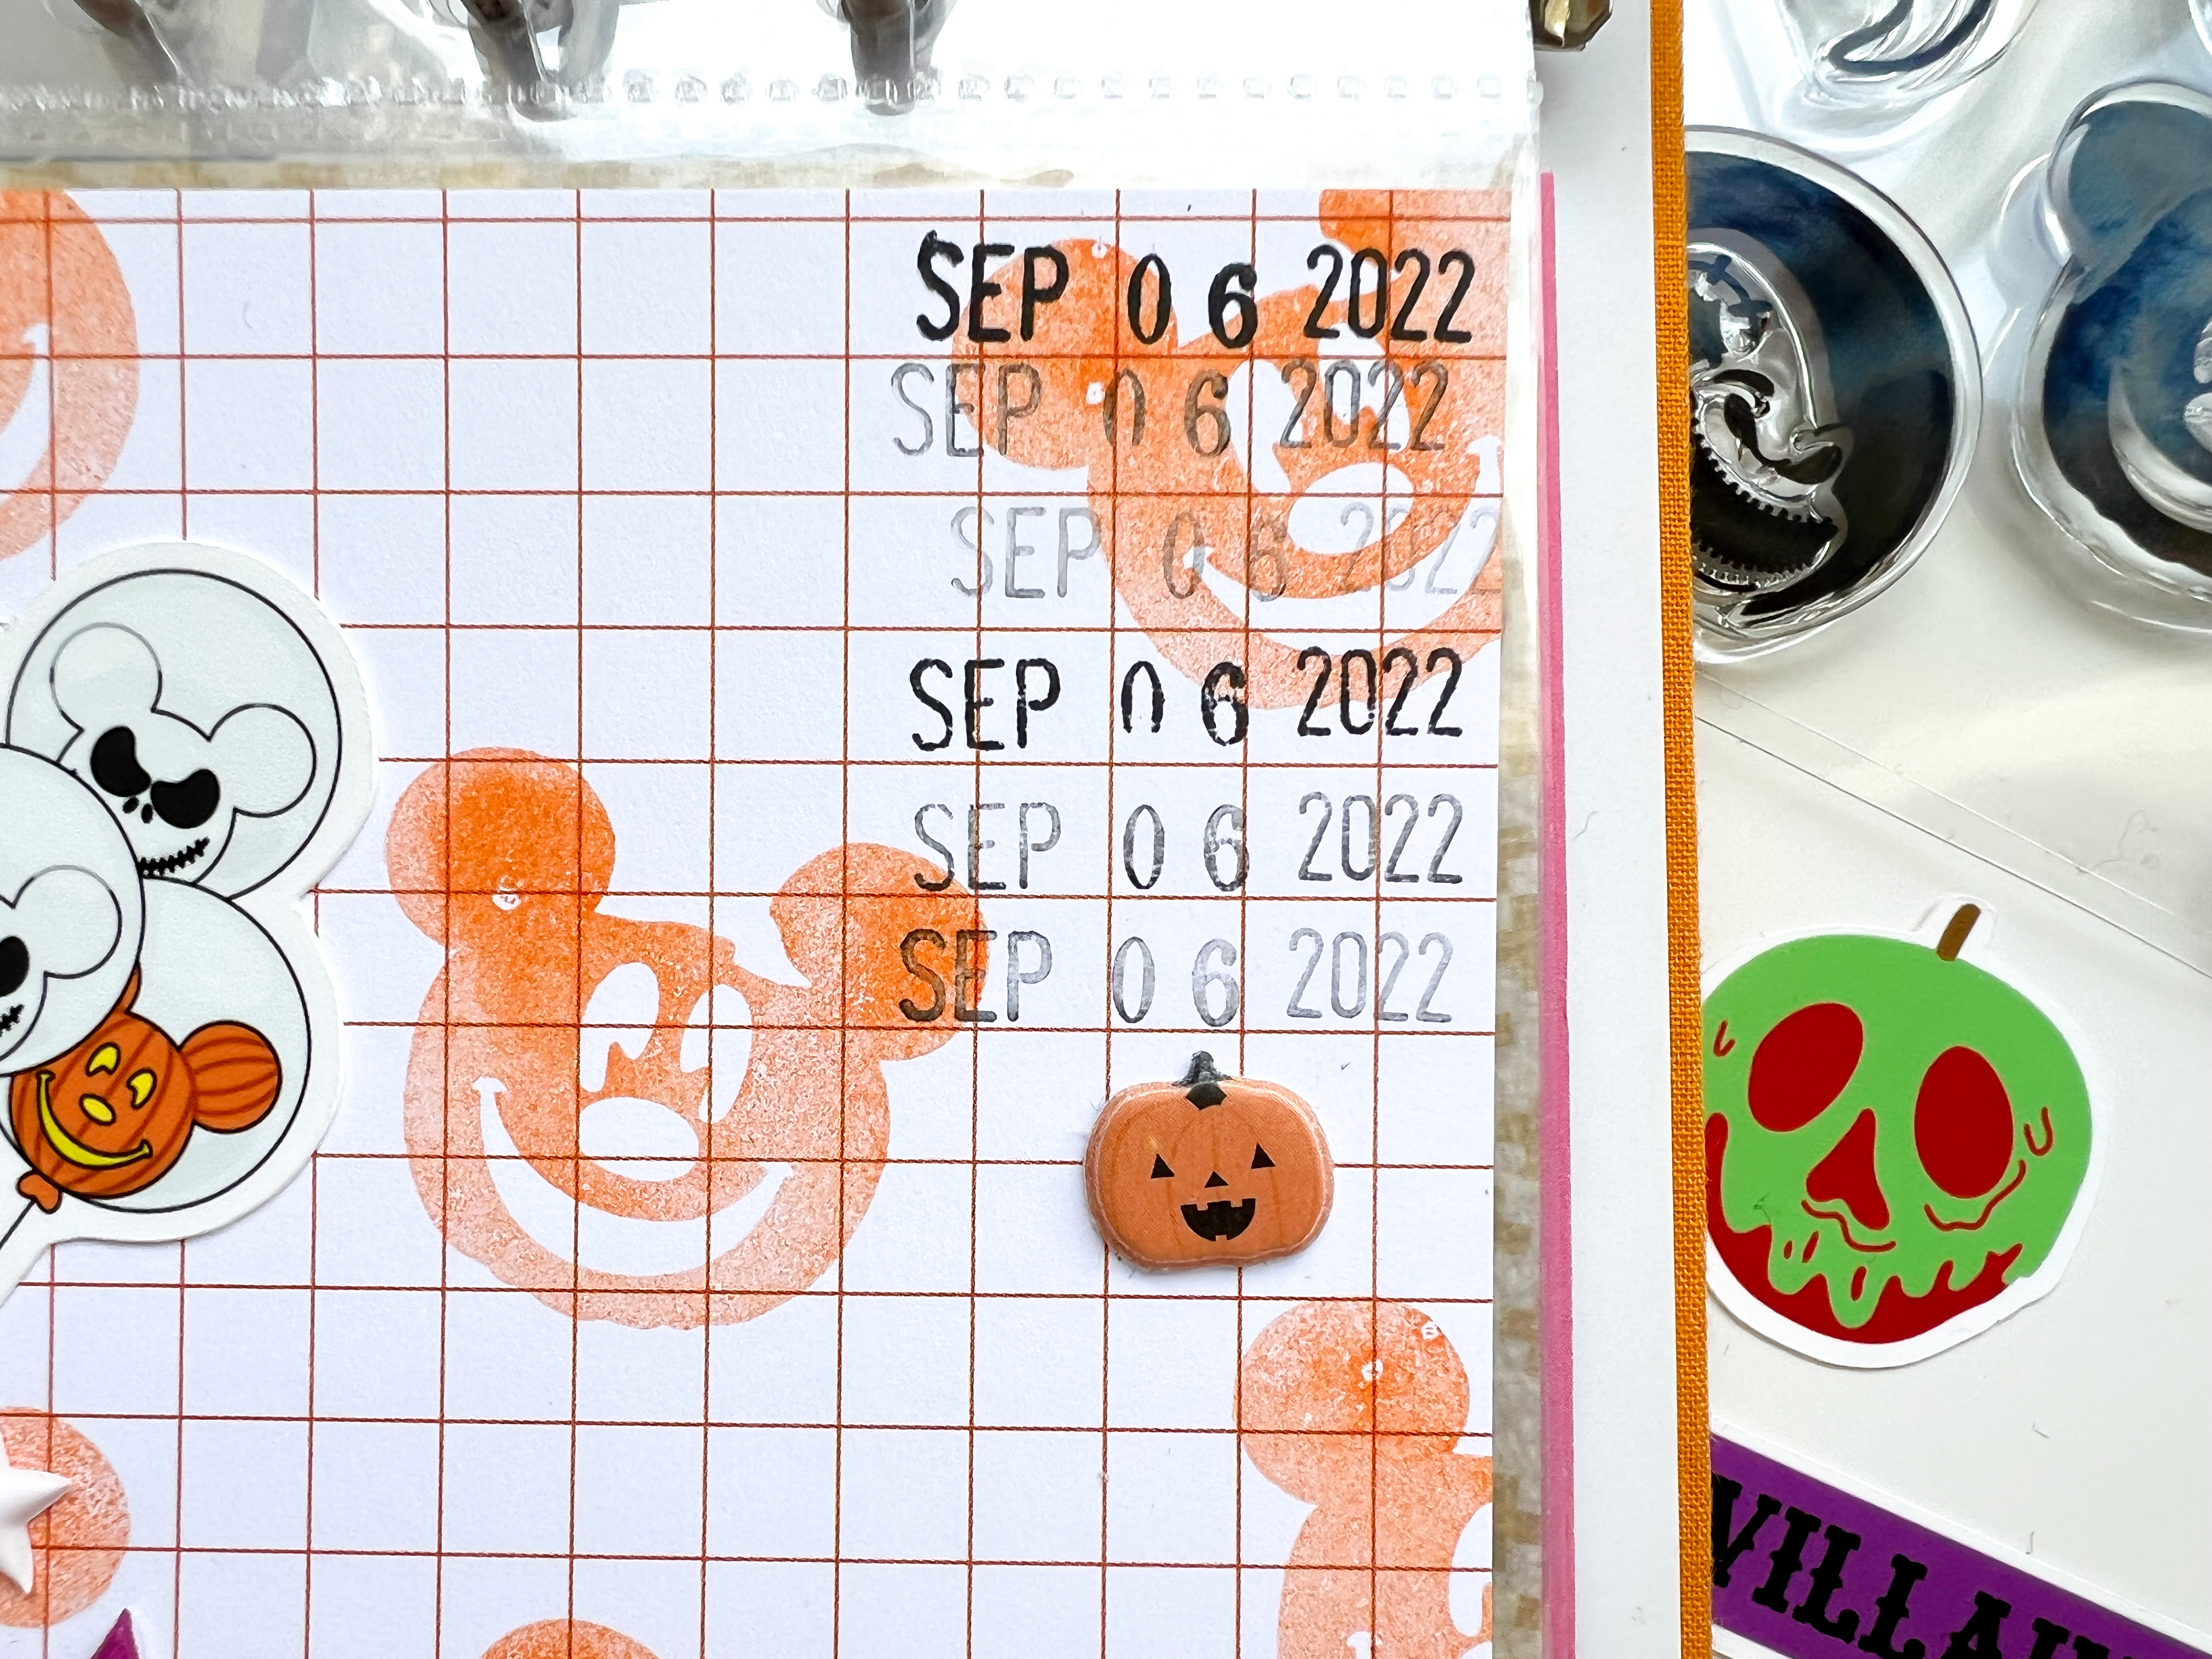
The date stamp is important to me. I always try to incorporate the date somewhere on the page. My favorite version of it is stamping the date stamp until the ink is faint. It almost gives it an ombre look.

The Boo to you ephemera ties into the ears I was wearing for the day, they were bat ears! I knew I wanted to somehow incorporate bats in the design while not overpowering the pumpkins.

I wanted to bring a little height to this side of the layout. This balloon cluster was perfect! Well almost perfect.. if it only had some bat balloons in it! Still loved what it brought to this side of the photograph.
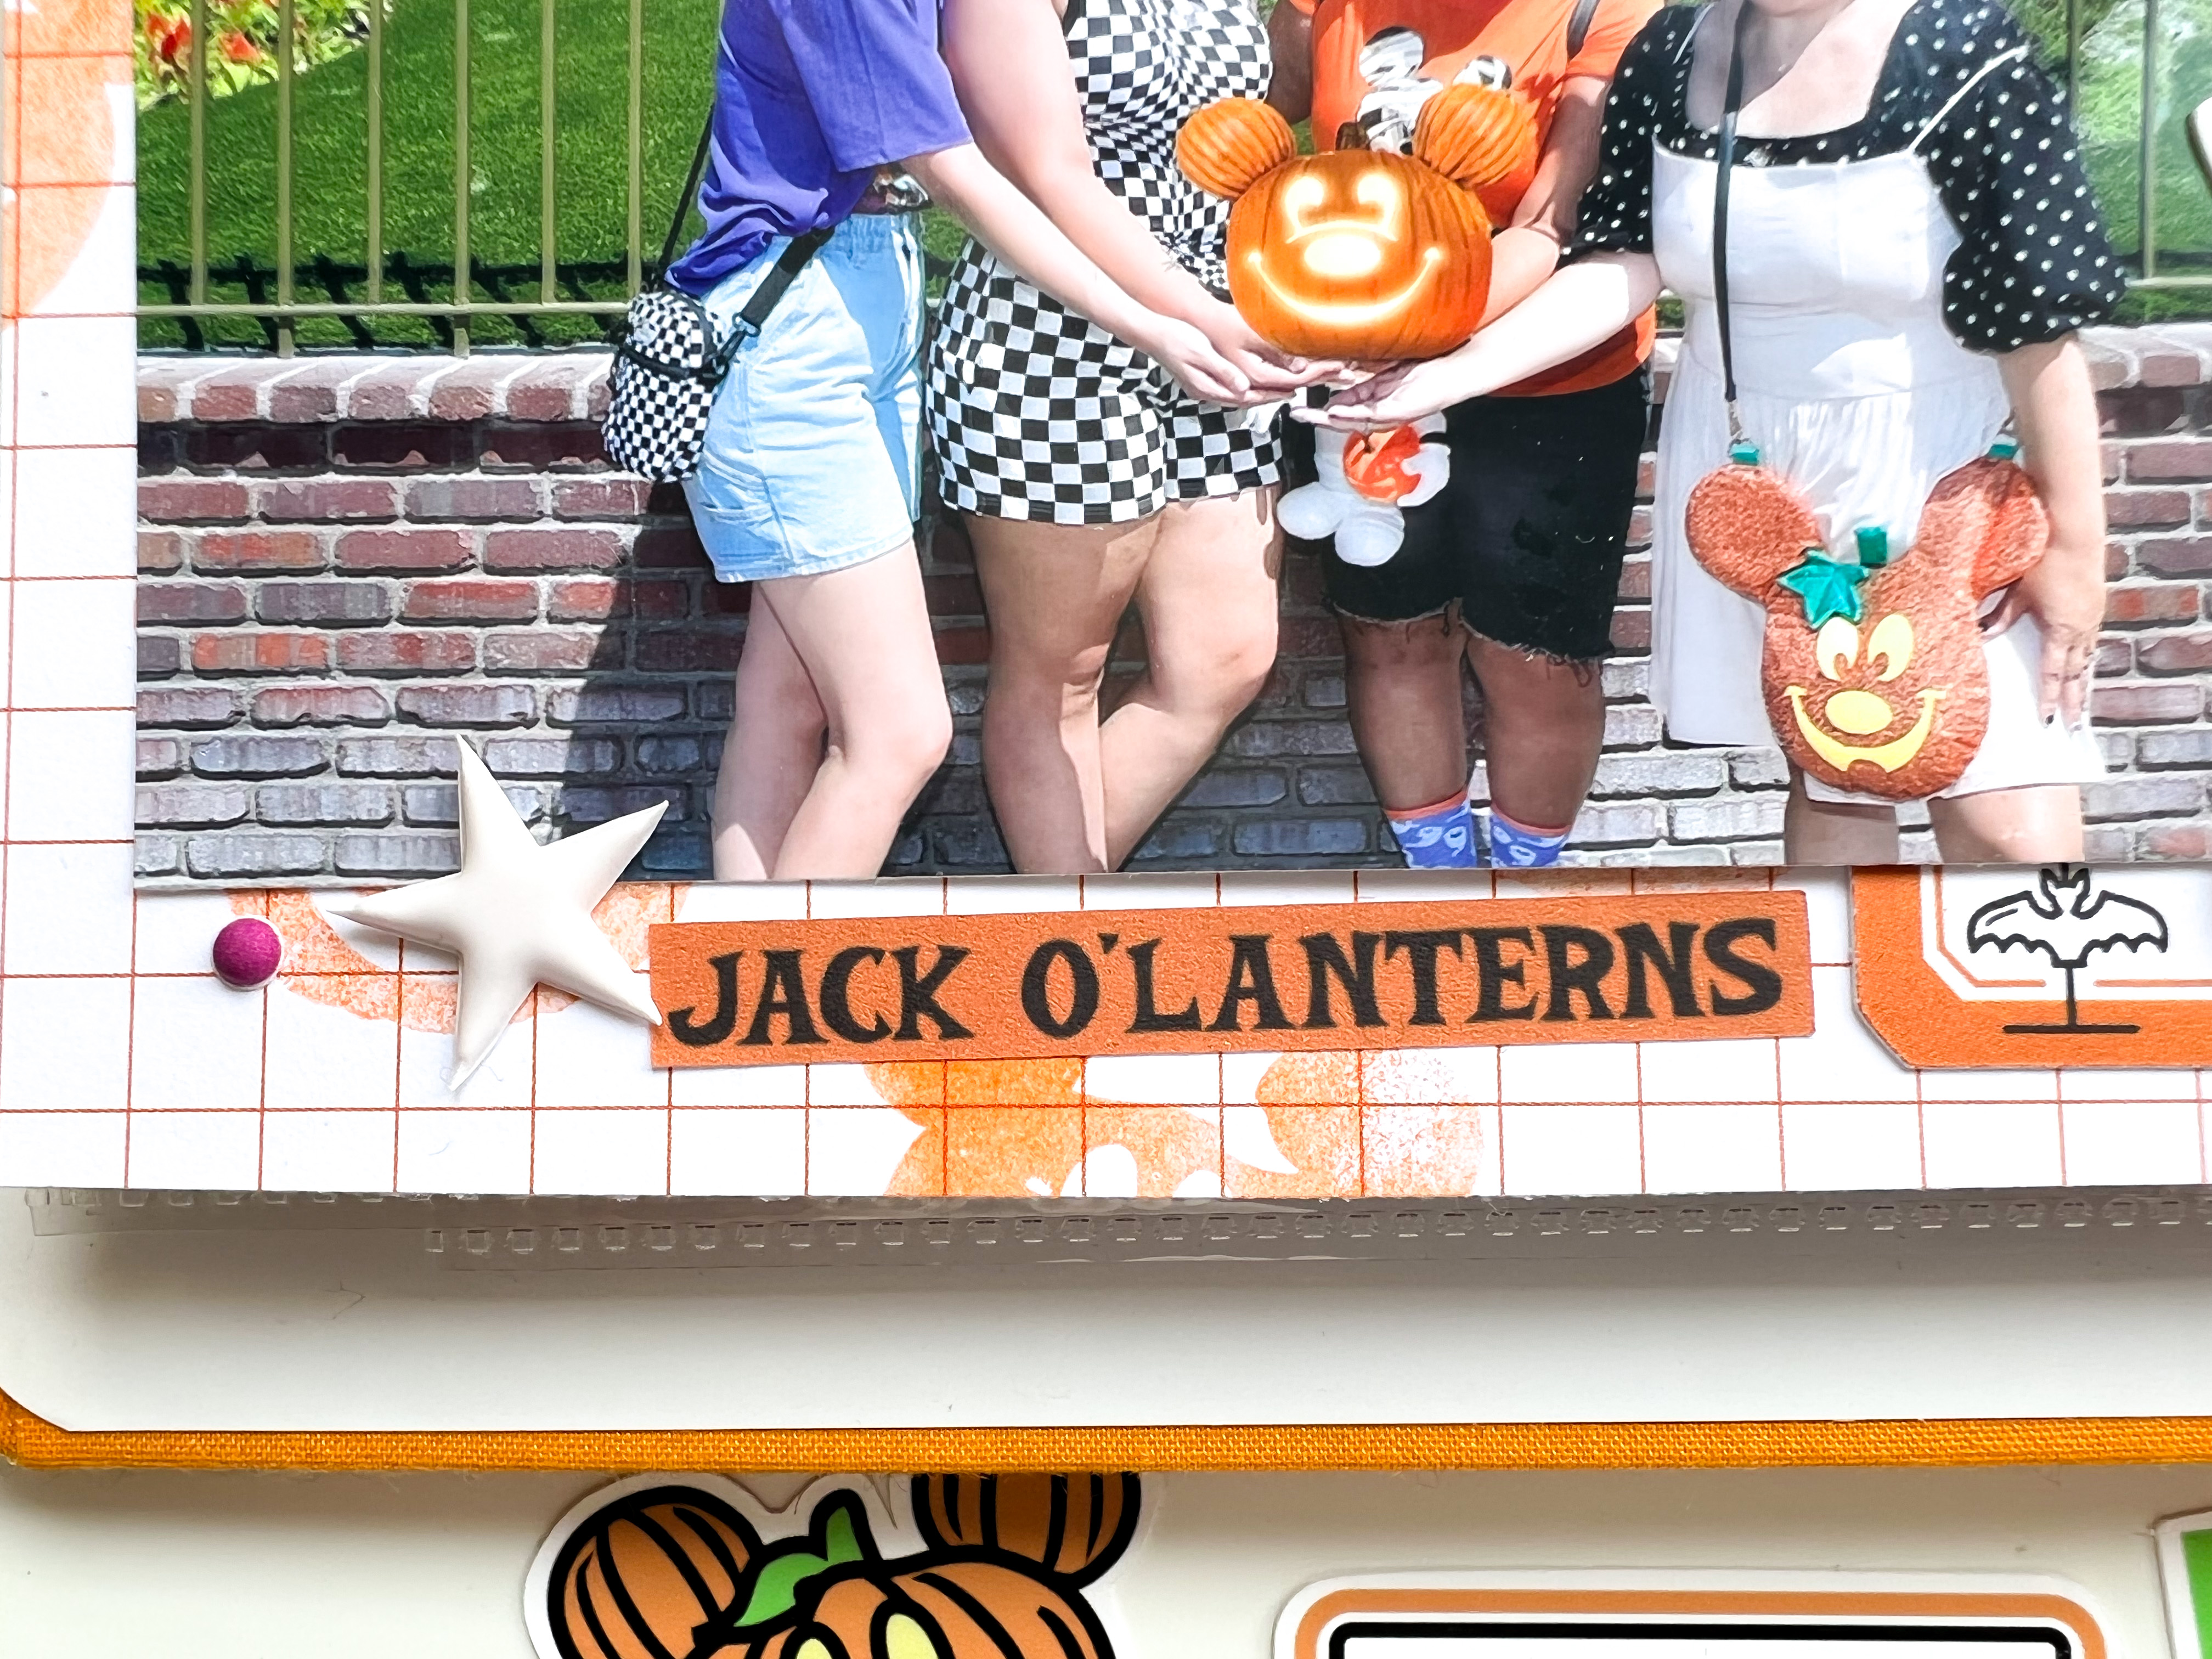
Let’s talk pumpkins, or jack o’lanterns! Whatever you are calling them they pretty much are the symbol of Halloween! This word strip anchors the bottom of the page.

Adding the pops of color with the dimensional stickers is just what this design needed. A little bit of dimension and some bright bursts of color. By adding the stars we were able to tie in the purple in our outfits in the picture as well.

Do you want to see of process video of how this all came together? You can watch it on our channel on YouTube here. And you can find all the products used in this layout here.
Keep creating!
Tina
